




Heavy clay is the plot nobody asks for and everybody gets. It holds water like a plugged sink all winter, then sets to concrete by July, and anything that wants a free-draining root run sulks in it. A raised bed sidesteps the problem rather than fighting it. You bring in the soil you actually want, you keep your boots off it, and the clay underneath becomes a floor instead of a battleground.
Why a raised bed works on clay
Clay particles are tiny and flat, so they pack tightly together. Water drains slowly and air struggles to move through the gaps, which is why clay is cold and soggy in spring and rock-hard in a dry spell. The upside is that clay holds nutrients well. Once improved, it grows superb brassicas and beans. But improving it in situ takes years of muck-spreading and patience.
A raised bed gives you good soil this season. Depth is the thing to get right. Twenty-five centimetres is plenty for salads, onions, herbs and most beetroot. Go to thirty centimetres for beans, chard and brassicas. Parsnips and maincrop carrots want more, or choose short-rooted varieties and accept a slightly stubbier crop.
One rule matters more than any other: do not dig the clay underneath into your imported topsoil. Mix the two and you have simply recreated the problem at a higher level. If the base is badly compacted, fork it over lightly to break the pan, then leave it alone.
Choosing the right spot and size
Full sun, six hours or more in summer. Put it within easy reach of a tap or water butt, because raised beds dry out faster than ground soil, and a hot week will find you out. Avoid sitting a bed under a tree; the roots will find the moisture and the shade will stall ripening.
Width is the measurement people get wrong. A bed 1.2m across lets you reach the middle from either side without stepping on the soil. If you can only get at one side, keep it to 60–75cm. Length is your call; 2.4m is a comfortable, common size that takes standard timber without much waste. Where you can, run beds north to south so both sides get sun through the day, and leave a path wide enough for a wheelbarrow.
What to build it from
Almost anything that holds soil will do, provided it will not rot away in three years or leach anything unpleasant.
- Treated softwood boards or sleepers. The cheapest sensible option. Look for timber rated for ground contact, and expect eight to ten years before it softens.
- Oak or sweet chestnut. No treatment needed and it lasts far longer. Costs more and is heavier to shift.
- Recycled plastic boards. Won't rot, won't splinter, lasts decades. It looks like plastic, because it is.
- Brick, block or stone. Attractive and permanent, but expensive and slow to build, and mortar joints need doing properly.
Avoid old railway sleepers of unknown origin, and anything that has been treated with creosote. If you use new pressure-treated timber and want reassurance about what might leach into the soil, line the inside faces with damp-proof membrane before filling. It costs very little.
Building the frame
Set out and check for square
Mark the rectangle with string lines and canes. Measure both diagonals; if they match, the shape is square. Check the corners with a spirit level, or lay a straight board across and sight along it.
Join the corners
Most timber beds come down to four boards per course and four corner posts. Cut the posts to the height of the bed plus enough to knock into the ground, then screw the boards to the posts with exterior screws — 75mm is usually about right. Pre-drill to stop the timber splitting, especially near the ends.
For a bed longer than 2.4m, add a central brace on both long sides. Wet soil is astonishingly heavy, and without a brace the sides will bow outwards by the end of the first winter.
Level it and settle it in
Push the corners into the soil so the bed sits firm, then recheck for level. You don't need to sink it deeply; sitting on the surface is fine. On a slope, either step the bed down in sections or dig the high side in so the top edge stays level.
Line the base if you need to
A layer of overlapping cardboard suppresses couch and bindweed and rots away within a season. Do not use landscape fabric under a vegetable bed. It separates your new soil from the clay below and stops worms travelling up into the bed, which is the opposite of what you want.
Filling the bed
This is where the money goes, and where a little planning saves a lot of waste. Don't simply tip in bags of multi-purpose compost; it slumps, shrinks and dries out. Build in layers instead.
- Cardboard or newspaper, overlapped generously, across the base.
- A rough layer of well-rotted manure, garden compost or spent mushroom compost, about 10cm deep.
- A middle layer of topsoil or a soil-based growing mix, another 10cm.
- A top layer of garden compost blended with a little loam, which is what your seedlings will actually root into.
Firm each layer lightly as you go. You want the mix settled, not squashed flat. A bed 2.4m by 1.2m and 30cm deep takes just under a cubic metre of material, so order in bulk if you can rather than buying bag after bag. Water it thoroughly and leave it a fortnight before planting; it will sink, and you can top up the level.
Planting, watering and feeding
Watering habits change with a raised bed. Drainage is the whole point, so the soil dries faster than the ground around it. Water deeply and less often — a proper soak every few days beats a daily flick of the hose, because it pushes roots downwards. Mulch the surface with compost or straw to slow evaporation.
Heavy feeders such as courgettes, brassicas and tomatoes appreciate a mid-season top-up of compost or a general organic feed. Everything else will manage on what's in the mix.
Keep a simple rotation going even in a small bed. Group crops roughly into legumes, brassicas, roots and everything else, and move the groups round each year. It slows the build-up of soil-borne disease and stops one part of the bed being stripped of the same nutrients year after year.
The first season and what follows
Expect the fill to settle noticeably in the first year. Top it up with compost each autumn and the level will hold from then on. Over time, worms will pull some of that organic matter down into the clay beneath, so the bed quietly improves the ground it stands on.
Don't dig the bed over. Fork out weeds, spread compost on top, and let the soil life do the rest. If your clay holds standing water right through winter, consider raising the sides further — 45 to 60cm makes a real difference — or digging a shallow gravel-filled trench along the wettest edge. Where the whole plot is waterlogged, it's worth speaking to a local drainage or landscaping contractor before committing to timber and a cubic metre of growing mix.
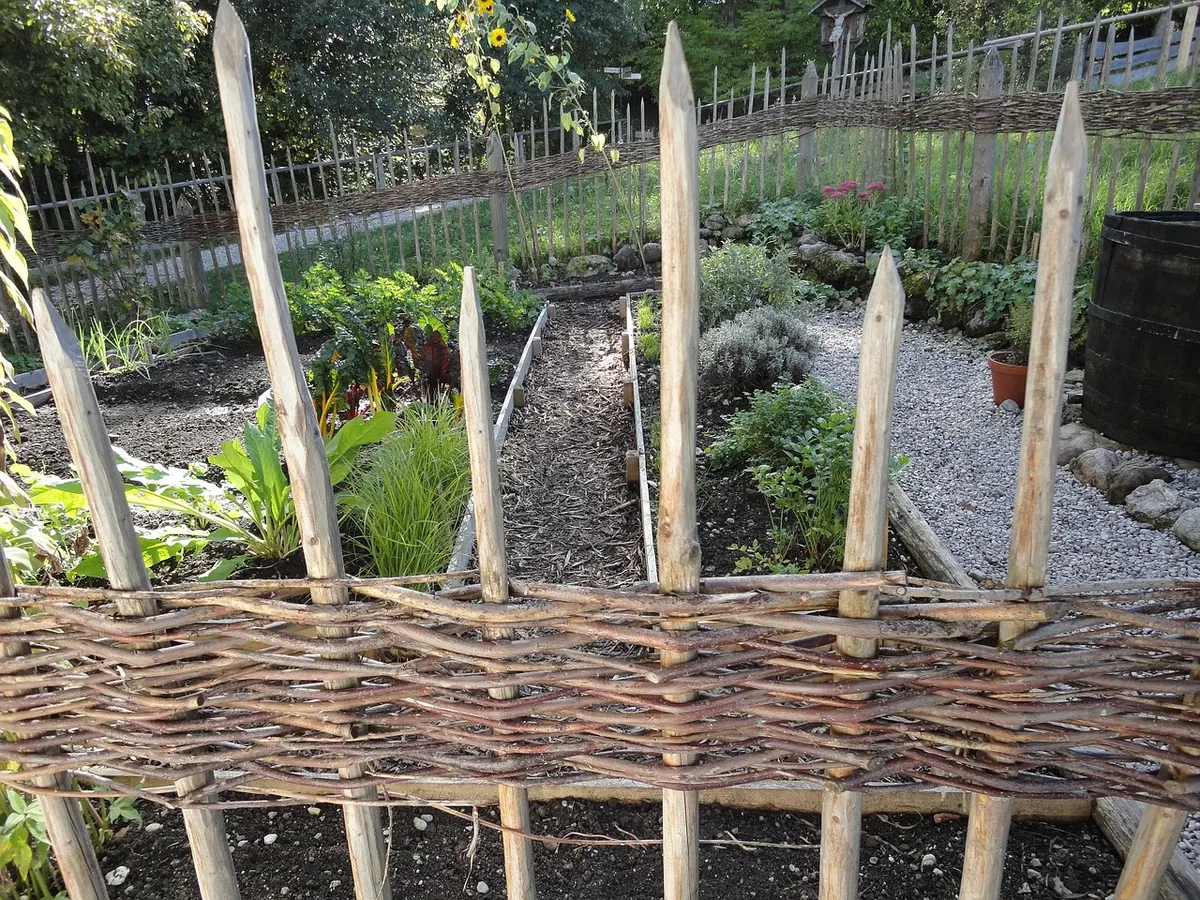
Photo: tassilo111 / Pixabay