

Planting a hedge is one of the few garden jobs that pays you back twice over: a windbreak, a privacy screen and a nesting site, all from a single row of small plants. It is also quietly easy to get wrong. Nothing looks amiss on planting day. The trouble shows up two summers later, when the middle of the row thins out, growth stalls, or a patch dies and leaves a hole you can see from the kitchen window.
Most hedge failures come down to a handful of repeatable mistakes. Here is what they are, and how to avoid them.
Planting at the wrong spacing
Spacing is the expensive mistake, because fixing it means lifting every plant. It goes wrong in two directions.
- Cramming them in. Roots compete for water and nutrients, air cannot move around the base, and you end up with a thin, leggy hedge hidden behind a dense front row. The instant screen you wanted never thickens.
- Spacing too wide. You spend three or four years staring at gaps, weeding between plants, and watching the wind push each one about on its own.
Follow the supplier's recommendation for your species and plant size. As a rough guide, small bare-root plants of privet, box or yew usually go in at 30–45cm apart, beech, hornbeam and hawthorn at 45–60cm, while big pot-grown laurel, photinia or griselinia want 60–90cm or more. A 3L laurel and a 10L laurel planted at the same centres will give you two very different hedges in five years, so measure what is actually in the pot rather than trusting a general rule.
For a really dense boundary, plant a staggered double row rather than squeezing a single row tighter. Run a string line before you dig so the trench stays straight, and drop a cane at each planting station as you go. It sounds fussy. It is also the difference between a crisp hedge and a wavy one.
Skimping on soil preparation
Digging one neat hole per plant is quick, tidy, and the reason so many hedges sulk for years. A hedge is a single long root system sharing one strip of ground, so treat the whole row as one planting bed. Dig a trench wide enough for roots to spread, fork the base to break up compaction, and blend garden soil with well-rotted manure or compost in the backfill. Fill the trench with nothing but rich compost and roots tend to circle within it instead of reaching out.
Two jobs worth doing first:
- Check drainage. Fill the trench with water and see how long it takes to disappear. If it is still there hours later, sort the drainage with grit, raised planting or a French drain before buying a single plant. Yew, beech and hornbeam hate wet feet; willow and dogwood will barely notice.
- Clear perennial weeds. Couch grass, bindweed and ground elder will thread through a new hedge and be almost impossible to remove later. On a badly infested strip, a season of smothering or repeated cultivation before planting is time well spent.
Check for buried services and old rubble while you are at it. If the strip has been used as a builder's tip, take the spoil out and bring in topsoil.
Planting too deep, or mishandling the roots
The commonest planting fault is burying the plant. The point where stem meets roots, often visible as a slight flare or a change in bark colour, should sit level with the surrounding soil. Plant deeper and moisture collects around the collar; the shrub survives winter, then rots or refuses to grow.
Bare-root plants
Cheap and quick to establish, provided the roots never dry out. Keep them cool and shaded, soak them for an hour before planting, and heel them into a spare patch of soil if you cannot plant within a few days. Trim damaged root ends with sharp secateurs. For deciduous whips such as beech, hornbeam and hawthorn, cutting the stems back by roughly a third after planting encourages bushy growth from low down instead of one thin leader.
Pot-grown plants
Slide the pot off rather than pulling the plant out by its stem, then loosen the outer roots with your fingers or a hand fork so they point outwards instead of spiralling. After a year in a container, most shrubs have a solid mat of roots pressed against the wall of the pot. Drop that into the ground untouched and it will keep growing in a circle, never anchoring properly and never finding its way into the surrounding soil. Tease it out, even if it means cutting through the base with a knife.
Choosing the right plant — and the right moment
No amount of good planting will rescue the wrong species in the wrong place. The classics are Leyland cypress in a small garden, box on a site with blight nearby, and yew in heavy, waterlogged clay. Before you buy, answer three questions honestly:
- How much sun does the strip get, and is one side shaded all day?
- How wet or dry is the soil, and does it stand wet through winter?
- How tall and wide must the hedge be in ten years, and can you reach that with a trimmer from the ground?
A hedge you cannot prune safely is a hedge that will eventually be cut badly or dug out. If the honest answer to the third question is "taller than I can reach", choose something slower and smaller — yew, hornbeam or a tight-growing holly — and accept that it will take an extra year to close.
Timing matters just as much. Bare-root plants are lifted and sold between late autumn and early spring, and that is when they belong in the ground, while they are dormant. Pot-grown plants are more forgiving and will go in almost any month, but they still establish fastest in autumn, when the soil is warm and the rain does half the watering for you. Avoid midsummer, when a plant has to keep leaves going while its roots are in shock, and avoid frozen ground, which leaves you with a hole full of ice and a plant with nowhere to go.
Aftercare: water, mulch and the first cut
Watering and mulching
This is where promising hedges quietly die. A new hedge needs water for two growing seasons, not two weeks. Until the roots have grown out into the surrounding soil, the plant is still living in the planting pocket, and a light daily sprinkle from a hose encourages shallow rooting without ever reaching the base of the plant.
Water thoroughly and less often. Fill the trench or planting pit, let it drain, then fill it again — one slow soak that reaches 30cm down is worth ten quick passes. Then mulch the whole strip with 5–8cm of well-rotted bark or compost, keeping it clear of the stems. Mulch holds moisture, smothers weeds and, over a few seasons, feeds the soil. Along a long boundary, a leaky hose on a timer will save you both time and the hedge.
Water is the cheap part. A hedge that gets a proper soak and a layer of mulch in its first two summers will outgrow one planted a year earlier and left to fend for itself.
The first cut
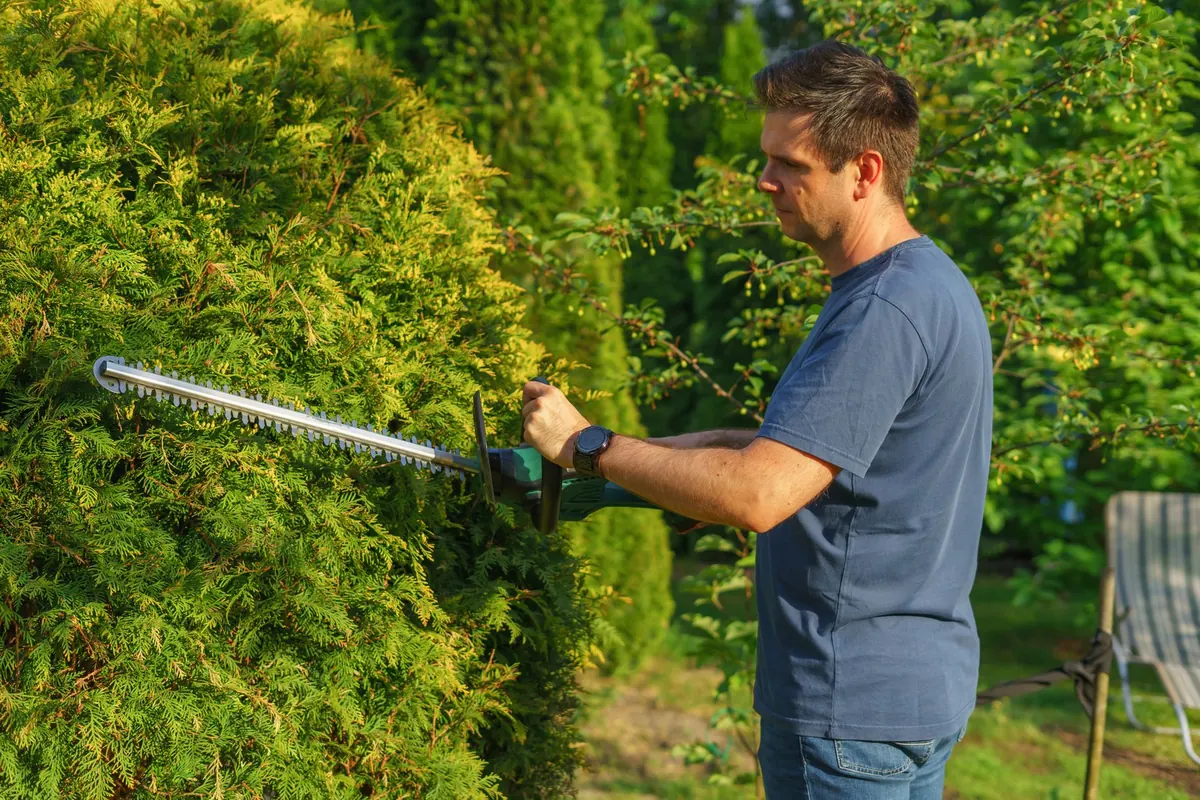
Resist the urge to let the hedge grow to its final height and then trim it flat. Young hedges need formative pruning to thicken from the base. For most species, a light trim in the first summer after planting, then once or twice a year, encourages sideshoots and stops the row going bare at the bottom. Keep the sides slightly tapered — wider at the base than the top — so light reaches the lower leaves. A hedge that is wider at the top shades its own base, and the bare patch underneath is effectively permanent.
Get the spacing, the soil, the depth and the water right, and the rest is patience. A hedge is not a quick decoration. It is a living structure that will outlast the fence you would otherwise have bought, and it will keep improving every year you leave it alone to do its work.
Photo: Kranich17 / Pixabay