

A blunt spade makes you work twice as hard for half the result. Blunt secateurs crush a stem instead of slicing it, leaving a ragged wound that heals slowly and gives disease an easy way in. Sharpening garden tools is not a fiddly job for a rainy Sunday — it is ten minutes with a file and an oily rag, done two or three times a season. The tools last longer, the plants suffer less, and you stop blaming your wrists for a problem that lives on the cutting edge.
What dull edges actually cost you
A sharp spade slides into soil and slices through roots; a dull one bounces, jars your hands and leaves a ragged trench edge that crumbles. Sharp shears make one clean cut, the kind a plant can seal over. The difference shows up in the compost heap, in how long a hedge takes, and in how often you replace tools.
Dirt does most of the damage. Soil left on a blade holds moisture against the steel, and rust starts overnight. Sap from prunings sets like glue, gumming up the pivot until the blades grind and the spring has to fight both the wood and the friction. Nearly every "worn out" pair of secateurs is simply dirty, blunt and stiff.
Clean first, always
Filing a dirty blade just grinds grit into the steel. Work through this before you touch a file:
- Scrape off dried soil with an old paint scraper or a stiff brush. Warm water with a splash of washing-up liquid shifts most of it.
- Deal with rust using wire wool or a nylon abrasive pad and a little oil. Badly pitted metal needs patience, not force.
- Remove sap from pruner blades with a cloth dampened with methylated spirits or white spirit. Wipe rather than soak.
- Disinfect blades between plants when disease is about — box blight and rose problems spread easily on a dirty blade. A proprietary garden disinfectant, used as directed, is the simplest option.
- Dry everything thoroughly. Never leave blades standing in water; a soak overnight is how tools get rusted pivots.
Sharpening spades, hoes and forks
Clamp the spade in a vice or rest it on a bench with the blade overhanging a corner, cutting edge facing away from you. Wear gloves, and keep your fingers behind the file at all times.
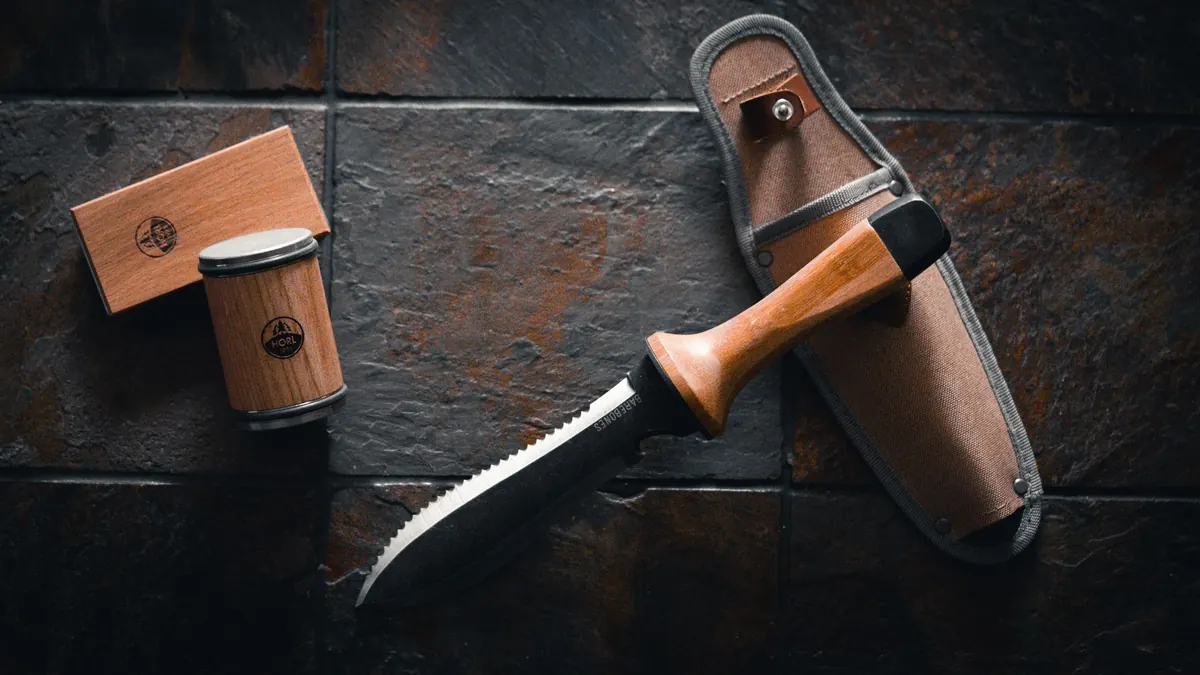
- Use a flat file — a 250mm (10in) mill file, or a diamond file if the steel is hard — and hold it at the same angle as the blade's existing bevel.
- Push the file from the shoulder of the blade towards the cutting edge in one steady stroke, and lift it clear on the return. Filing back and forth dulls the file as fast as the blade.
- Four or five strokes per side is normally plenty. You are restoring an edge, not creating a razor.
- Turn the spade over, lay the file flat on the back and give two or three light passes to remove the burr, the thin curl of metal you can feel with a fingertip.
Resist the temptation to thin the edge down to a knife. A spade needs a sturdy edge at roughly 30 to 45 degrees, or it will fold over the first time it meets a stone. Hoes are the exception: they slice rather than lever, so a sharper one is a genuine pleasure — a few strokes on the bevelled face of a hoe before a weeding session makes the job noticeably quicker. Forks rarely need sharpening at all; tidy the tines with a light pass to remove burrs, but never file them to points.
Secateurs, shears and loppers
Bypass secateurs
With bypass pruners the blade passes a curved hook. The blade has a bevel on the outer face and a flat inner face. Sharpen the bevelled side only. Take a small diamond file or a fine stone and follow the existing angle, stroking from the base of the edge towards the tip, always in the same direction. When you feel a fine burr on the flat side, remove it with one or two flat, light passes. Never file the flat face itself — that opens a gap between blade and hook and the tool stops cutting cleanly for good.
Anvil secateurs
Anvil pruners cut down onto a flat bed. The same rule applies: sharpen the blade's single bevel, and leave the anvil well alone. If the anvil is grooved or dented, replace it rather than filing it flat.
Loppers and hedge shears
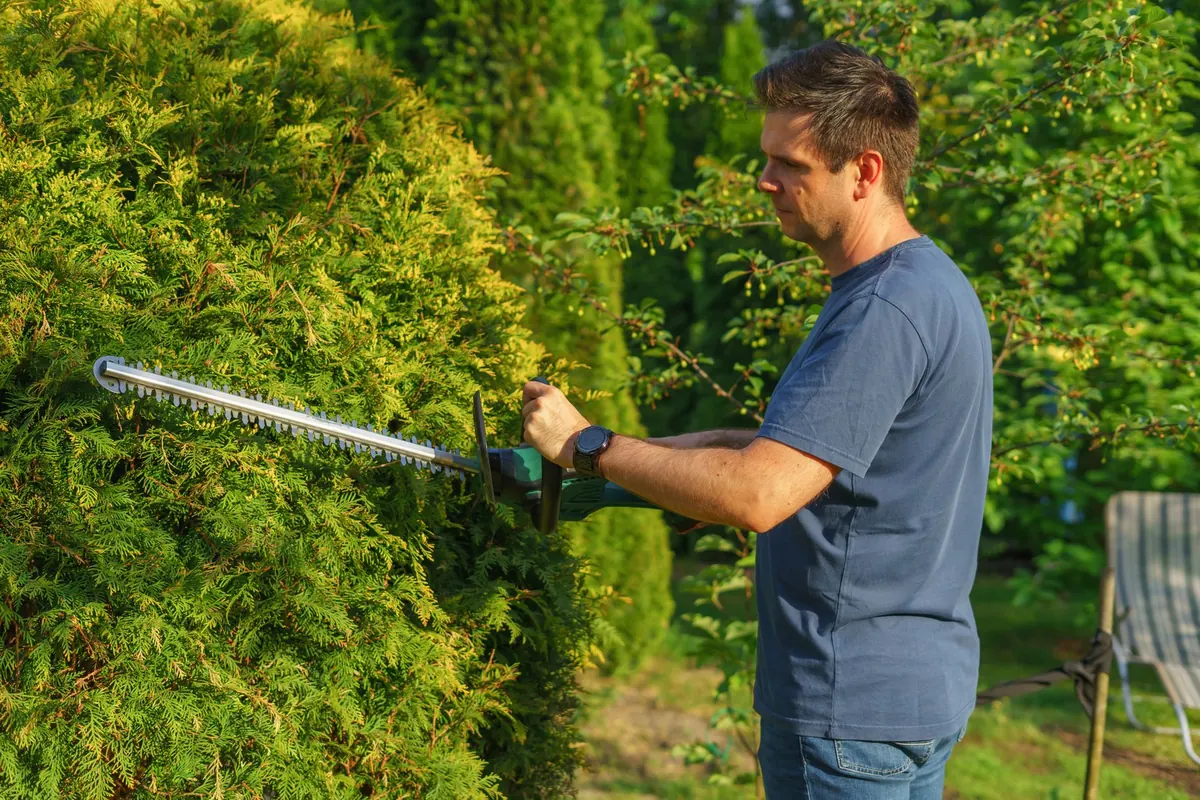
Bigger tool, bigger file, same technique. Hedge shears usually have two bevelled blades that meet along the length — a few strokes on each keeps them snipping instead of tearing. Lopper blades are often soft enough to bring back with a file in a minute or two.
Touch up little and often. A couple of strokes during a long pruning session saves a proper sharpening later. If you are squeezing the handles with two hands, the blade is blunt.
Handles, springs and pivots
Wooden handles dry out and crack. Sand them lightly with fine abrasive paper and treat them with boiled linseed oil, wiping off the excess. Spread used oil rags flat outdoors to dry before binning them — linseed-soaked cloth can heat up on its own if it is crumpled.
On secateurs and loppers, check the pivot bolt. Tighten it just enough to remove side-to-side play, no more; over-tightening makes the blades bind. A drop of oil on the pivot and spring keeps the action light. Keep a small stock of spare springs, washers and nuts — they cost very little and are the parts that fail first.
Storing tools properly
Wipe every metal surface with an oily rag before the tool goes away, a light machine oil or a garden tool oil. Hang spades, forks and loppers on hooks or nails rather than standing them on a damp shed floor. The old trick of plunging spades into a bucket of oiled sand does work, but only if the sand stays genuinely dry; damp sand will rust a blade faster than a bare shelf.
Files deserve the same care. Keep them dry, store them so they do not rattle against other metal, and clean the teeth with a file card now and then. A clogged file skids over steel and does nothing.
The ten-minute routine
Make it a habit at the end of every session: knock the soil off, wipe the blades, check the pivot, hang the tool up. Twice a year — before spring and again in autumn — do the full job: clean, sharpen, oil, tighten, replace anything worn. It is a small amount of effort for tools that bite properly, last for years and make the work itself far easier on your back and hands.
Photo: Todd Callaway / Pexels