


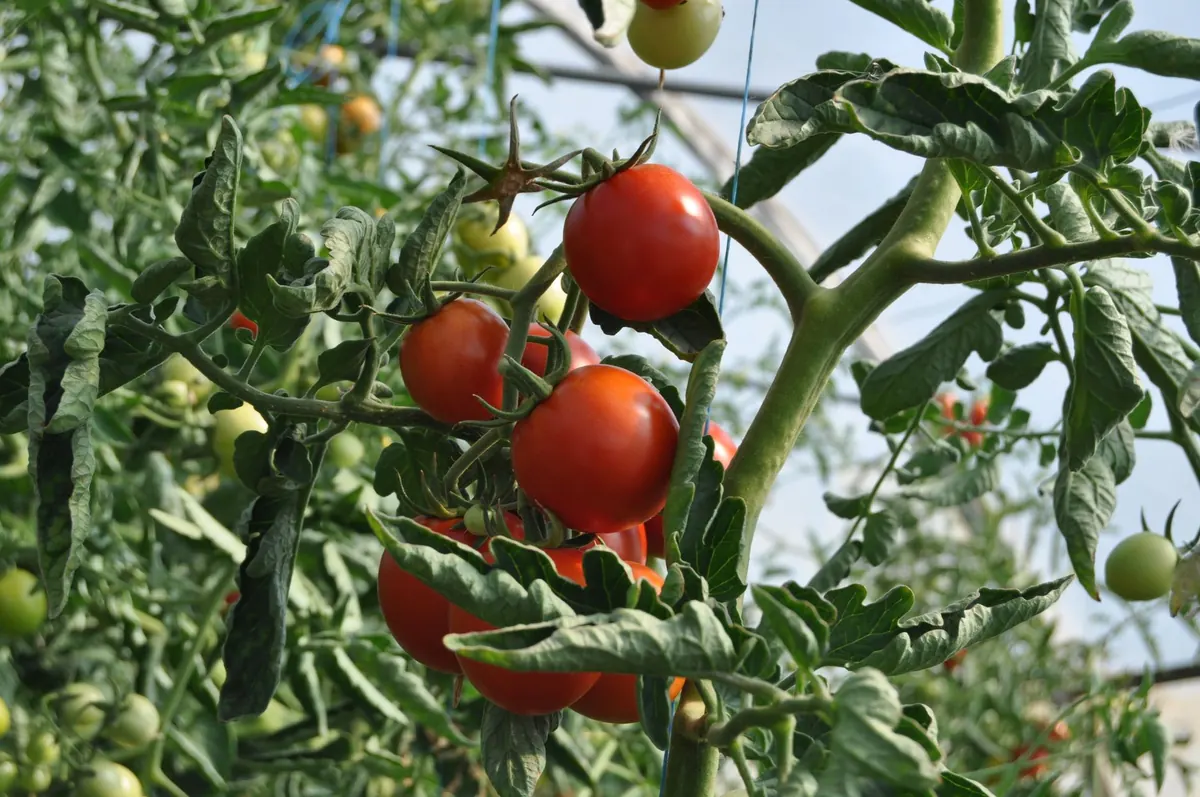
Tomatoes and greenhouses were made for each other. Under glass you can grow varieties that would sulk through a wet British summer, start cropping weeks earlier, and pick fruit that ripens properly on the vine rather than being coaxed along on a windowsill in October. The catch is that a greenhouse is a closed world. Heat builds quickly, damp air lingers, and problems that would blow over outdoors can settle in for the season. Get a handful of basics right and you will be filling bowls from July well into autumn.
Choose a variety that suits glass
Tomatoes come in two habits, and the difference matters more in a greenhouse than anywhere else. Cordon, or indeterminate, types grow tall on a single stem and crop over several months. They are what most greenhouse growers plant: 'Gardener's Delight' for sweet cherries, 'Ailsa Craig' for a reliable older variety, 'Shirley' and 'Sungold' as popular modern hybrids. They need height, so plan for canes or strings running up to around 1.8m.
Bush, or determinate, types stay compact and ripen most of their fruit in one go. 'Tumbling Tom', 'Red Alert' and 'Romana' work well in small houses, large pots and hanging baskets, and they make a good early crop before the cordons take over.
- F1 hybrids tend to be uniform and carry better disease resistance.
- Heritage varieties offer more interesting flavour, though fruit can be less predictable.
- Beefsteak types such as 'Marmande' need more space and steady watering, but the payoff is substantial.
Don't overplant. Four or five cordons in a small greenhouse will give you more tomatoes than six cramped ones ever will.
Sowing and potting on
Sow from late February to mid-March for a main crop, with a second sowing in April if you want a later succession. Fill modules or small pots with moist seed compost, sow the seed about 1.5cm deep, cover and keep at roughly 18–21°C. Germination usually takes a week or two.
Get them into good light the moment they appear. A bright windowsill or a propagator with plenty of daylight keeps seedlings stocky; weak, drawn stems never quite recover. When the first true leaves appear, prick the seedlings out into 9cm pots, holding them by a leaf rather than the stem, and bury each one up to its seed leaves. Tomatoes root along any buried stem, so planting deeper each time builds a stronger plant.
Pot on into 2-litre pots as roots fill the compost, and move them to their final position once the greenhouse holds about 10°C at night.
Planting out: timing, compost and spacing
In most parts of the UK that means late April at the earliest, and more comfortably early to mid May. A cold night stalls growth for a fortnight, so patience pays.
In grow bags, one cordon per bag is the kindest option. Cut drainage slits in the base, stand the bag on a slatted bench so air circulates, and consider bottomless pots or ring culture sunk into the compost — they concentrate water and feed right at the roots instead of letting it run off the sides. Bush types can be planted two or three to a bag.
In a border, fork in plenty of compost and a balanced fertiliser, then space plants 45–60cm apart. Try not to grow tomatoes in the same border soil year after year; soil-borne problems build up quietly, and a simple rotation with beans, salads or cucumbers keeps the ground healthier.
Watering: the thing most growers get wrong
Tomatoes want consistency far more than they want volume. Water in the morning, at the base of the plant, and keep the leaves dry. A drip line or soaker hose on a timer takes the guesswork out and is worth the modest outlay if you have more than a few plants.
Once the first flowers set, little and often beats a weekly flood. A mulch of compost or grass clippings over the surface slows evaporation and keeps the roots cool. In high summer, shade the glass with netting or shading paint, and open the vents by mid-morning to stop humid, still air collecting around the plants.
Reading the plants tells you a lot:
- Wilting at midday on a hot day is normal. Wilting at eight in the morning is not.
- Fruit splitting usually follows a heavy watering after a dry spell.
- A dark, sunken patch at the base of the fruit is blossom end rot, caused by irregular watering rather than disease.
- Grey mould on stems and leaves points to damp, still air and wet foliage.
Feeding, side shoots and support
Start feeding when the first truss has set fruit. Before that, good compost supplies enough, and too much nitrogen simply gives you leafy plants with little to pick. Use a high-potash tomato feed weekly and follow the dilution on the bottle — more is not better, and it can scorch roots.
Support cordons with a cane or a string tied to the greenhouse frame, twisting the stem around it as the plant grows. Remove the side shoots that appear between the stem and each leaf. Do this while they are small enough to nip out with your fingers, ideally in the morning when the plant is full of water and snaps cleanly.
Once five or six trusses have set fruit, usually in late July or early August, pinch out the growing tip. That stops the plant stretching upwards and pushes its energy into ripening what is already there. Bush varieties need no pinching at all.
Tomatoes pollinate themselves, but the flowers need a little movement. Tap the cane or flick each truss around midday, or leave the door open so bees can get in. On very hot days, damp down the path rather than the flowers.
Ripening and clearing up
As trusses begin to colour, take off the leaves below the lowest ripening fruit. This improves airflow, lets light onto the fruit and makes picking easier. Keep watering steadily — withholding water in the hope of speeding ripening only stresses the plant.
Pick regularly. Every fruit left to over-ripen tells the plant to slow down. By September, pinch out the tips of any remaining trusses and remove late flowers that have no chance of setting before the light fades.
Green tomatoes will ripen indoors on a sunny windowsill, in a paper bag with a ripe banana, or in a drawer. The rest make chutney, which is the traditional fate of a British greenhouse in October. When the plants are finished, clear every scrap of debris, wash the pots and disinfect the glass and frame. Pests and spores overwinter happily in a dirty greenhouse, and next year's crop pays the price.
Your first season, week by week
- Late February to mid March: sow seed in modules at 18–21°C.
- March to April: prick out into 9cm pots, then pot on as roots fill.
- Late April to mid May: plant into grow bags or the border once nights are mild.
- May onwards: water at the base each morning, ventilate by mid-morning.
- June onwards: feed weekly once the first truss has set, and remove side shoots.
- Late July to August: pinch out the growing tip after five or six trusses.
- September to October: ripen the last fruit, then clear and clean the greenhouse.
Expect the first year to be slightly uneven. A few split fruits or a truss that ripens late is normal, and the plants are forgiving of most mistakes as long as they get steady water, reasonable light and moving air. Keep notes on what worked, and next season will be better again.
Photo: erkan budak / Pexels